Categoria: Setup

  • Discover how to establish the WordPress Platform in five simple steps!

    Discover how to establish the WordPress Platform in five simple steps!

    One of the most popular tools for building a blog, website, or online store is the WordPress platform. To get started, you must configure it properly, and support is available to guide you through this process.

    1. Providing hosting, domain, and setup services.

    There are two options for hosting your blog or website: using the WordPress platform directly or installing it on a separate server. If you decide to move it elsewhere, there are specific steps to follow.

    In the second choice, you must enlist a hosting service and select a domain name (website address). It is recommended to opt for popular extensions like .com or .com.br. Once your site is set up on a server, it is accessed by the browser whenever required.

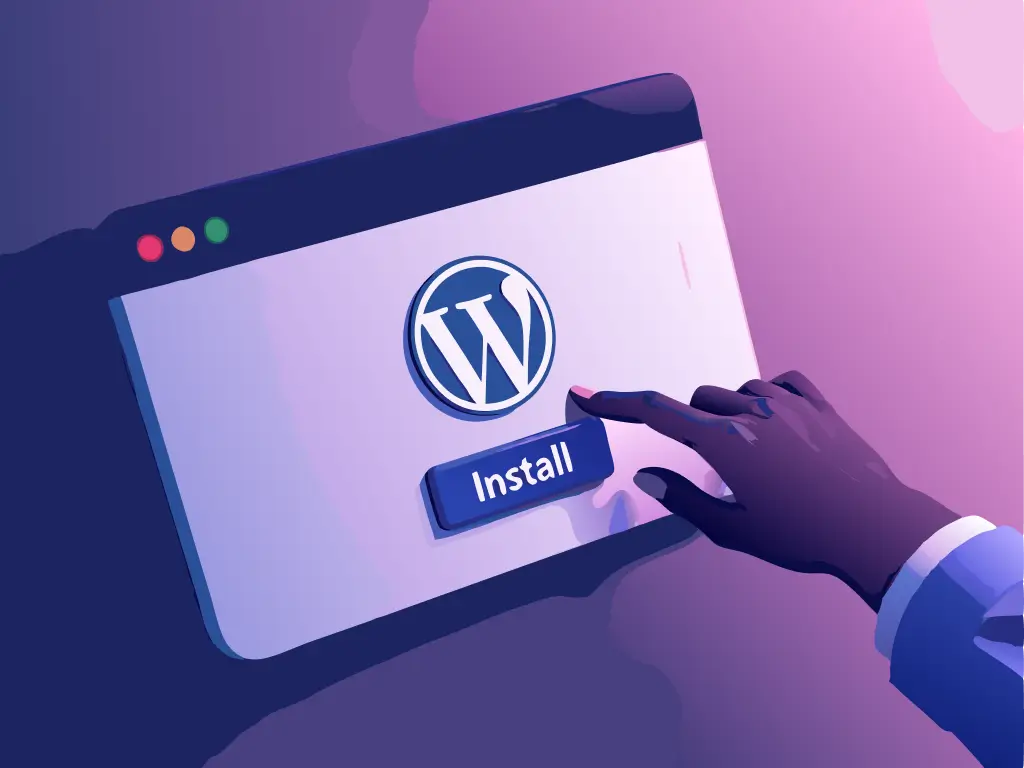
    After selecting a hosting service and domain, the next step is to install WordPress.

    Installing WordPress automatically through your hosting’s control panel (Cpanel) with HostBits.

    How to set up WordPress using Softaculous in my hosting.

    Installing WordPress by hand:

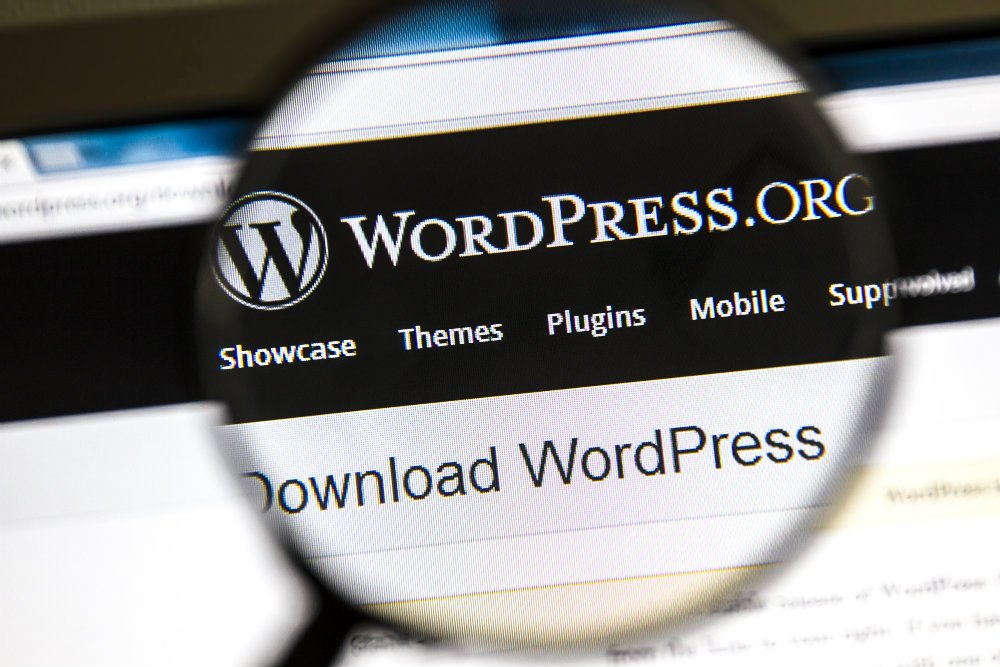
    • Download WordPress in Brazilian Portuguese.
    • In the hosting administration panel, locate the file manager to upload and extract the WordPress file.
    • Create a database by accessing the database option in the hosting administration panel. Generate a database, user, and password, and proceed to include a database with full permissions.
    • Open the site in a new window and go to the page where you’ll enter database information to connect WordPress to the database.
    • Specify the website, set up a username, password, email address, and decide whether or not to allow the site to be indexed by search engines.

    2. Physical look

    Quality content is essential, but an appealing design is also valuable. Selecting the right theme is a crucial step that demands careful consideration. It’s advisable to try out different templates to discover the one that best represents your website’s essence. Keep in mind that the layout plays a significant role in engaging your audience.

    The standard WordPress themes are located on the left side of the admin panel under Customize > Themes. You have the option to select from the existing themes, look for new ones, or upload a personalized theme. To narrow down your choices, use the filters in the Customize > Themes section.

    Anyone familiar with HTML and CSS can customize an existing theme or develop a brand new one.

    Change the heading and explanation.

    When you create a blog on WordPress, it initially displays ‘Just another WordPress site’. You can customize this by accessing the admin panel, navigating to Settings > General, and updating the Site Title and Description to better reflect your blog’s purpose for your audience.

    Reading Choices

    Choosing the layout for your blog or website homepage involves deciding between a fixed or changing option based on new posts. Additionally, when selecting a theme, you have the choice to determine the number of posts displayed per page and whether to show a summary or the complete content of each post.

    When you need to adjust these preferences, access the WordPress admin panel and choose Configure > Settings > Writing from the left-hand menu.

    Five additions.

    Many plugins are available to enhance a blog’s performance. To install and activate plugins, you can navigate to the WordPress admin panel and go to Configure > Plugins. A few essential plugins include:

    • Cache assists in loading websites by generating static pages, leading to a decrease in resource usage.
    • Fighting spam is becoming more important, and using a captcha plugin along with Askimet can assist in this effort.
    • SEO is a crucial plugin for every blog.

    Did you find these guidelines for configuring the WordPress platform helpful? We offer a variety of other tips! Subscribe to our newsletter to stay updated with the latest news.

  • How to set up Google Analytics on WordPress?

    How to set up Google Analytics on WordPress?

    Digital marketing offers advertisers a significant benefit in terms of being able to track outcomes, unlike traditional marketing. Despite this advantage, many companies still don’t utilize measurement tools due to the misconception that it is a complicated process.

    Google Analytics is widely used for tracking metrics and is considered one of the most comprehensive tools available. When it comes to website creation, WordPress is the biggest content management system.

    Today, we will demonstrate how to set up Google Analytics on WordPress and explain its significance in your digital marketing plan.

    What does Google Analytics refer to?

    Google Analytics is a no-cost tool created by Google for entrepreneurs and website owners to track data pertaining to their website, be it a blog, corporate site, online store, or landing page.

    This tool provides information on the number of site visitors, real-time online users, accessed pages, average time spent on the site, traffic sources, and various other metrics.

    It offers a wealth of information that, when analyzed thoroughly, can be transformed into knowledge to assist the company in standing out against rivals and in the market overall.

    How does it operate?

    Google Analytics is user-friendly, but analyzing it from a development perspective can reveal its complexity. It operates through a code snippet provided by Google that must be installed on every page of a website. This code includes a unique identifier that connects data collection to the specific account in Google Analytics.

    Whenever a visitor accesses the website, the code is fetched by the browser from the specific page, and thereafter, the tool records the data from that visit in its database, presenting them in metric form on the analyst interface.

    Why is he significant?

    Google Analytics is considered crucial for websites as it allows the measurement and observation of user behavior, making it an indispensable tool for digital marketing efforts.

    Installing Google Analytics on WordPress can be done by following these steps.

    To have this tool on your website, you need to add the code they give you to all pages. If your site is created using our tool, you can simply use the provided tutorial. For WordPress sites, there are two ways to integrate the tools without the need to modify the site’s code.

    One way to set up Analytics in WordPress is by using the selected theme for the site, as many commercial templates come with a built-in feature in the admin area for inserting code, ensuring uniform code distribution across all pages.

    If the theme does not support this integration, you can achieve it using dedicated plugins like Google Analytics by Yoast, created by the developers of Yoast SEO, a top SEO plugin.

    After installing and activating the plugin, follow the instructions provided by the Google Analytics tool within WordPress. For further assistance, refer to the initial steps outlined in the Google tab.

    Analyzing the effectiveness of your marketing efforts requires understanding visitor behavior and page interactions on your website. Adding Google Analytics to WordPress is the initial stage in this process of measuring and improving performance.

    Did you enjoy this content? If so, subscribe to our newsletter to receive all our blog updates directly to your email!

  • Learn how to easily set up an SSL certificate in WordPress.

    Learn how to easily set up an SSL certificate in WordPress.

    The SSL certificate is a digital security protocol that ensures the legitimacy of your website or domain online.

    SSL pages create a secure and encrypted connection between your server and web browsers like Chrome and Firefox in real-world scenarios.

    The SSL certificate is essential for companies and organizations that prioritize safeguarding user data, whether it’s protecting visitor information on websites or ensuring secure online payments.

    In this article, you will discover how to install an SSL certificate on WordPress. Ready?

    SSL certificates: their purpose explained

    The term SSL originates from “Secure Socket Layer” and doesn’t have a direct translation in Portuguese, but can be interpreted as a security layer.

    SSL is a common certificate used by websites to protect against unauthorized access to sensitive information during online transactions.

    Configuring the SSL certificate on your website offers several benefits.

    • Enhance your website’s ranking on Google.
    • Prevent Google from flagging your website as “unsafe” due to lacking a certificate.
    • Increase the dependability for visitors who visit your website or online store.

    The certificate is required for digital and e-commerce stores, and not having it active can cause issues during a purchase as it is a necessary condition for online transactions, such as credit card purchases.

    What is the easiest method to obtain an SSL certificate?

    The simplest and most cost-effective method to obtain an SSL certificate for your website is to buy it together with a hosting package.

    If you don’t have website hosting yet, avoid those that do not offer Free SSL.

    At Hostbits, you can secure hosting for your domain with free SSL starting at R$9.16 per month, inclusive of automatic installation.

    You don’t need to configure anything, and customers can safely browse or purchase products in your online shop. Simply follow the steps outlined below.

    1. Obtain a web hosting package
    2. Access the control panel of your new hosting provider by logging in.
    3. Look for the section dedicated to add-ons.
    4. Click the “Install” button and your SSL certificate will become active within a few hours.

    Setting up SSL in WordPress

    How can SSL be set up in WordPress?

    Activating an SSL certificate on WordPress is an easy process that can be done without expert assistance, with various methods available for configuration.

    Next, we provide you with the easiest method to install SSL on WordPress.

    Set up SSL / HTTPS on WordPress with a plugin

    This approach is simpler and suggested for novices.

    You must first install and enable the Really Simple SSL plugin.

    Afterwards, you should go to the Settings > SSL page.

    The plug-in will automatically identify your SSL certificate and set up your WordPress site to utilize HTTPs, resolving mixed content errors by updating all file URLs.

    The plug-in’s operations are performed in the background.

    • Inspect the SSL certificate.
    • Sets up WordPress to utilize https in your website’s address.
    • Configures HTTP redirect to HTTPS.
    • Look for URLs in your content that are still loading from insecure HTTP sources and attempt to correct them.

    How can you determine if a website has an active SSL certificate?

    Identifying an SSL certificate on a website is easy. Simply visit the website you wish to verify and examine the URL bar.

    SSL is symbolized by a green lock icon positioned in front of the webpage’s address.

    The green color indicates that the certificate is active and it is secure to share personal information in that setting.

    If the lock has a different color, it indicates that the security level of that location is lower.

    Let’s discuss it in advance.

    Differences between SSL and TLS.

    SSL and TLS are very similar, with TLS being a more modern version commonly utilized in email applications.

    Both aim to guarantee security within internet communication protocols such as TCP and IP.

    Types of SSL certificates

    There are various security certification levels available for websites, with the choice for each depending on the organization’s size, industry, and required security level.

    Banks and financial institutions require the highest security certification to safeguard the personal data of account holders.

    Small online stores run by small businesses usually choose less complex security measures.

    Examine the types of SSL certificates for validation levels.

    Domain Validation Certificate

    This is the most basic form of SSL and can be set up quickly without extensive technical skills.

    Websites meeting this validation level receive a static seal to demonstrate certification to visitors.

    Certificate for verifying an organization’s authenticity

    The organizational validation certificate provides increased security for visitors and clients.

    It ensures the credibility of crucial information to build customer trust and facilitate the purchasing journey.

    They exist.

    • Address information.
    • Phone;
    • Business registration number.
    • Fantasy name.

    Extended validation certificate is a type of certificate with a longer validation process.

    Financial institutions typically possess this level of security accreditation, which is indicated by a “green bar” across the entire browser interface in green hue, as opposed to just a lock symbol seen at lower levels of security.

    SSL Common, Joker, and Multidomain are frequently used.

    You can classify the SSL certificate based on the quantity of approved domains, besides validation levels.

    • Single Area;
    • Wild Card.
    • Multi Domain.

    The Single Domain certificate is utilized for just one domain, whereas the Wild Card certificate allows companies to use it in subdomains.

    With SSL Multi Domain, you have the ability to secure 100 domains across various servers.

    Hostbits provides free SSL.

    An SSL certificate is crucial for companies seeking to expand online and protect visitors’ data privacy and security.

    All Hostbits Site Hosting Plans include complimentary SSL.

    Simply rent lodging with us and follow the instructions outlined in this article to set up and enhance visitors’ experience on your website.

    Explore Hostbits website hosting plans further by clicking on the banner provided below.

  • Configuring Google Analytics on your WordPress site

    Configuring Google Analytics on your WordPress site

    Would you like to install Google Analytics on your WordPress site?

    Understanding how your audience engages with your website is crucial for success and provides valuable insights for improvements.

    The most effective method for understanding your audience is by analyzing traffic data, which is provided at no cost through Google Analytics once it is configured.

    In this article, we will explain the significance of Google Analytics and provide a step-by-step guide on installing it on your WordPress site.

    Should we?

    What does Google Analytics refer to?

    Google Analytics is an online analytics platform that offers fundamental statistics and analytical features for SEO and marketing objectives.

    The service is a component of Google Marketing Platform, which is an online advertising and analytics platform, and is accessible at no cost to users with a Google account.

    Google Analytics essentially tracks your website’s performance and gathers information about visitor behavior.

    • How do visitors discover your website?
    • Who is viewing your page? What is their location?
    • What devices do people typically use to access your website?
    • What actions do individuals engage in while visiting your website?
    • When does your website experience increased traffic?
    • How do guests engage with your content?

    Configuring Google Analytics – How to set it up?

    I’m convinced I need to install Google Analytics on my website. What should I do next?

    Simply adhere to the following step-by-step instructions.

    Google Analytics can be accessed at no cost, requiring only a Google or Gmail account for sign-up and setup.

    The registration process is straightforward, therefore, carefully follow the guidelines to set up your Google Analytics account.

    Access Google Analytics and register to configure your account.

    Visit the Google Analytics homepage, then log in with your Google or Gmail account details to access the dashboard.

    Otherwise, you can proceed to make a Google account for yourself.

    Shortly after logging in using your Gmail account, you will encounter a screen similar to the one shown below. This is the page where you can register for Google Analytics using your Gmail credentials.

    Provide a name for your Google Analytics account during Step 2 of Property Configuration.

    Shortly after, you need to choose a name for your account and configure the property. This name is strictly for internal use, so feel free to use anything, such as your company name and follow.

    Shortly after, you should input time zone and currency information to proceed with configuring your Google Analytics account.

    Provide commercial details about your company in Step 3.

    Analytics then asks for commercial data and information on tool usage.

    Click the “create” button to successfully establish Google Analytics.

    How can Google Analytics be set up on WordPress?

    There are several methods to install Google Analytics on WordPress.

    We will demonstrate the easiest way to install the MonsterInsights Plugin on your WordPress site, which is typically suggested for those new to this.

    You can select the option that fits your requirements best.

    You must utilize just one approach on your website to prevent duplicate tracking of page views in your Google Analytics account.

    Shall we begin?

    How can MonsterInsights be installed and Google Analytics configured on a website?

    You should start by installing and activating the MonsterInsights plugin.

    After being activated, the plugin will create a new option labeled ‘Insights’ in your WordPress admin menu. Simply select it to access the MonsterInsights setup wizard.

    The setup process for MonsterInsights.

    Choose a website category (business, blog, or online store) and click ‘Save and Continue’ to proceed.

    Shortly after, you must select the ‘Connect MonsterInsights’ button.

    Paraphrase: Link MonsterInsights

    This will initiate a pop-up window that directs you to Google accounts, where you will need to sign in or choose a Google account if you are already logged in.

    Grant MonsterInsights permissions to access your Google Analytics account and click the “allow” button to proceed.

    The last step involves choosing the profile you wish to monitor. Simply select your website and click on the “Full Connection” button.

    Have you successfully installed Google Analytics on your WordPress site?

    We demonstrated how to install Google Analytics on your WordPress website. Be patient, as it will take some time before you see your statistics.

    Utilize traffic data regularly to enhance your website.

    With Google Analytics, you can gain valuable insights about your business by gaining a deeper understanding of your audience’s behavior.

    If you lack WordPress hosting that ensures excellent performance for your site visitors, Hostbits offers a reliable solution. Explore our business plans by clicking on the banner provided.

  • Setting up Google Workspace on Android and IOS mobile devices.

    Setting up Google Workspace on Android and IOS mobile devices.

    Have you set up Google Workspace applications on your mobile device?

    Imagine finding yourself in a meeting away from the office and requiring access to a crucial document, yet your laptop remains at the workplace.

    Perhaps you are stuck in traffic and receive an urgent message that demands immediate access to your work email.

    Having Google Workspace apps on your mobile device is crucial during these times.

    Google Workspace comprises a range of potent applications such as Documents, Sheets, Presentations, and others, not limited to just a single app.

    You can access all these tools conveniently on your mobile device, whether it’s an Android or iOS.

    This will allow you to access and respond to emails, modify documents, update spreadsheets, and even join video conferences directly from your mobile device.

    This article demonstrates how to install Google Workspace applications on your mobile device, either Android or iOS, enabling you to work efficiently and without any disruptions, no matter your location.

    Let’s go?

    What is Google Workspace designed for mobile devices?

    Google Workspace is a complete collection of Google applications like Gmail, Drive, Calendar, Docs, Sheets, Slides, and additional tools.

    Each of these apps can be individually downloaded on your mobile device, providing convenient and direct access to all the essential features needed for your work.

    Configuring these applications on your mobile device, whether personal or company-provided, allows you to work effectively from any location.

    Your office doesn’t have to be confined to a specific location; it can be portable in your pocket.

    How does Google Workspace function on mobile devices?

    Setting up your workspace on your mobile device enables you to conveniently use any Google productivity tool from your work account.

    With Workspace available on mobile devices, you have the ability to:

    • Respond to crucial emails whenever necessary.
    • Join video conference calls while traveling.
    • Access and collaborate on shared documents instantly.
    • Update your spreadsheets directly using your mobile device.

    Google Workspace can be set up on both Android and iOS devices.

    • Google Workspace is incorporated into Google apps on Android, simplifying the use of tools such as Gmail, Drive, and Google Meet.
    • To set up Workspace on your iPhone or iPad, simply download the necessary apps from the App Store and follow the setup guidelines provided.

    Using Google Workspace on mobile, whether on a personal device or provided by the company, helps you remain connected and maintain productivity outside of the office.

    Are Google Workspace Apps available at no cost?

    Google Workspace mobile apps can be downloaded for free from the Google Play Store (for Android) and the App Store (for iOS).

    There isn’t just one Google Workspace app; users can select the apps they need to download based on their requirements.

    To unlock additional functions in certain apps, a paid Google Workspace account is required, typically given by your employer.

    With a free Google account, you can access apps like Gmail Professional and Google Drive, but there are restrictions on resources.

    What benefits come with using Google Workspace Apps on a mobile device?

    Using Google Workspace apps on mobile enables you to have a portable virtual office that can assist you whenever necessary.

    Imagine needing quick access to important documents or emails while in an external meeting, on the go, or even at home.

    With Workspace apps installed on your mobile device, you have access to all your work tools, providing flexibility and efficiency in various situations.

    Explore a few benefits:

    1. Work from any location without being confined to the office or a computer.
    2. Easily check emails and documents on the go, allowing quick responses and access to essential files anytime, anywhere.
    3. Collaborate simultaneously: Modify documents and spreadsheets together with your team, no matter your location.
    4. Receive immediate notifications: Receive notifications regarding new messages, events, and updates to crucial documents to remain informed.
    5. Different tools are offered, such as Gmail, Google Drive, Calendar, Meet, and more, combined in a single application for convenient work management.

    Setting up Google Workspace on a mobile device.

    Setting up Google Workspace on mobile is quick and easy for Android and iOS devices.

    Follow the step-by-step instructions provided for each type of device.

    Android devices.

    1. Access your mobile device’s settings by navigating to the settings menu on your Android device.
    2. Create a new account by scrolling until you locate the “Contacts” option and selecting “Add Account”.
    3. Choose “Google” from the options provided.
    4. Enter the login details for your Workspace: Input the email and password associated with your Google Workspace account that was given to you by your employer or educational institution.
    5. Grant necessary permissions: Google might need to access certain device resources like contacts and calendar. Simply tap “Allow” for each request.
    6. Your device has been successfully set up to sync with your Google Workspace account, allowing you to download and use Google apps like Gmail, Drive, and Calendar on your mobile device.

    iOS devices such as iPhone or iPad.

    1. Download the necessary applications from the App Store, such as Gmail, Google Drive, Google Calendar, Google Docs, Google Sheets, Google Meet, and more.
    2. Start the app you want to configure, like Gmail.
    3. Create a new account by tapping on “Add Account” and choosing “Google” as the account category.
    4. Enter the login details for your Workspace: Provide the email and password associated with your Google Workspace account.
    5. Grant necessary authorizations: When prompted, enable the application to utilize functions like calendar, contacts, and notifications for seamless functionality.
    6. If you wish to utilize other Google Workspace applications, follow the same procedure for each one such as Drive, Calendar, Docs, Sheets, Meet, and so on.
    7. After setting up everything, you will have full access to all Google Workspace tools on your iPhone or iPad once you add your accounts to the apps you want.

    With these basic steps, you can set up Google Workspace on your mobile device to ensure easy access to all your work tools.

    Hostbits is partnered with Google Workspace for mobile.

    Completing your Google Workspace setup with a certified partner like Hostbits can greatly impact your experience.

    By choosing our Google Workspace service, you ensure a straightforward, convenient, and customized experience based on your requirements.

    Rely on Hostbits’ knowledge to enhance your efficiency and maintain your business connected from any location.

    Find out how simple it is to transform your work environment with Google Workspace by talking to us!

  • Installing WordPress: Quick and Simple Instructions

    Installing WordPress: Quick and Simple Instructions

    You have chosen the perfect hosting for your website and are ready to bring your idea to life. What comes next? Setting up WordPress, the top choice for building and maintaining websites.

    Why should WordPress be chosen?

    It offers simplicity, the ability to tailor your project, and a wide range of plugins to enhance site capabilities, spanning from SEO to e-commerce.

    We will assist you in setting up WordPress to help you begin your website successfully.

    Get ready to simplify and begin establishing your online visibility. Ready to get started?

    Is WordPress still significant in 2025?

    WordPress continues to be one of the most significant and effective tools for building and overseeing websites in 2025.

    It currently powers more than 40% of all websites online due to its flexibility and extensive array of features.

    WordPress is versatile and can be used for different kinds of projects such as blogs, portfolios, large e-commerce sites, and corporate websites.

    What makes him still important?

    • The platform provides a wide range of themes and plugins that allow for extensive customizations without starting from the beginning.
    • WordPress’s high market demand means that proficient developers in this platform are consistently sought after for new projects and website upkeep.
    • It is a cost-effective option for new businesses looking to expand to serve larger corporations.

    Mastering WordPress remains a key advantage in 2025, whether you aim to acquire new skills or enhance your online visibility.

    Can WordPress be used at no cost?

    WordPress is available at no cost, but additional expenses may be incurred based on the extent of customization and control desired.

    Yes, you can set up WordPress at no cost.

    There are two primary editions.

    WordPress. org is the platform.

    This is the open-source version that allows you to download the software, tailor it to your preferences, and host the website with your chosen provider. While you have complete control over the site, you will need to cover costs for hosting, domain, and potentially premium themes or plugins.

    WordPress.com

    Provides a complimentary version with WordPress hosting for your website, but it has restrictions like a domain ending in “.wordpress.com” and limited features. Upgrading to paid plans allows access to additional features.

    What are the necessary conditions for setting up WordPress?

    WordPress requires certain fundamental server prerequisites to function correctly.

    1. The UNIX/Linux based server is frequently selected for hosting due to its higher compatibility and stability with WordPress.
    2. PHP version 7 or above is required for optimal performance and security in WordPress as it is the programming language that powers it.
    3. MySQL version 5.6 or newer or MariaDB version 10.0 or newer is required for the database, which holds your website’s data like content, users, and configurations.
    4. PHP Memory of 64 MB is the minimum required for running WordPress, although additional memory may be needed for numerous plugins or complex themes.

    Most contemporary hosts such as Hostbits typically fulfill these criteria, so it is advisable to verify with the provider beforehand.

    Installing WordPress in a gradual manner

    Let’s learn how to set up WordPress on your hosting dashboard without any issues.

    1. Obtain WordPress.

    • Visit wordpress.org’s official website to access and download the most recent version of WordPress.

    2. Get Server Ready

    • Ensure that the server or hosting fulfills the specified requirements.
    • Access the hosting control panel (typically cPanel) and generate a MySQL database along with a user and password.

    3. Transfer the WordPress files

    • Utilize an FTP client like FileZilla to connect to your server.
    • Place the WordPress files in the directory where you intend to set up the website, typically in the “public_html” folder.

    4. First setup

    • Visit your website’s address in the browser to begin the WordPress installation process.
    • Enter the previously created database information (including bank name, username, password, and host).

    Complete the Installation.

    • Establish the website title, generate the user and admin passwords, and set up the contact email.
    • Click on “Install WordPress” shortly after and wait until it’s finished.

    Access the Admin Panel.

    • After installing, access the WordPress dashboard by visiting www.yoursite.com/wp-admin.
    • Utilize the created username and password to log in and begin personalizing the website!

    Right after installation, it is recommended to select a theme and add the necessary plugins for additional functionalities like SEO, security, and performance.

    Ready to launch your website using WordPress?

    Installing WordPress may appear difficult initially, but with the proper guidance, you’ll be able to launch your site swiftly.

    This powerful tool is the top pick for businesses and content creators looking for flexibility, customization, and scalability.

    If you haven’t selected a reliable hosting service for your website, Hostbits is the perfect choice!

    We provide specialized technical support and features that ensure the performance and security of your WordPress project with optimized servers.

    Click here to discover our WordPress optimized hosting plans!