Migrating website hosting can appear complex, particularly if you lack experience and aim to avoid potential downtime or loss of crucial configurations.
Don’t be concerned!
With the appropriate checklist and some organization, you can implement this change smoothly.
We will provide a step-by-step guide in this article to help you transition smoothly without data loss and maintain the perfect functioning of your website.
Shall we begin?
When should a website hosting be transferred?
There are various signs that suggest it may be time to transfer your website’s hosting.
One common issue is when the website’s performance is slow or unreliable, which can harm the user’s experience.
When your hosting services no longer meet your requirements, it may be time to consider other options.
If the technical assistance provided by your current hosting service falls short of your needs or if the prices are too high for the services provided, it might be a good idea to think about switching.
When seeking enhanced security and improved features, transitioning to a new hosting service could be the perfect answer.
Same or different domains?
The process of moving website hosting may differ based on whether you retain the current domain or choose a new one.
- Same field
If you are switching servers but wish to retain the same domain (example.com), the procedure is quite straightforward.
It is important to transfer the website files, databases, and update the DNS settings when moving to a new hosting provider to prevent any downtime and ensure everything is set up correctly.
- Various fields
When opting to switch domains (e.g., from .com to .net), it’s important to not only transfer files and update DNS settings but also to assess the SEO implications and redirect traffic from the previous domain to the new one.
Setting up 301 redirects is crucial for maintaining a website’s search engine ranking and preventing a loss of traffic.
More careful consideration is needed for this scenario, particularly if the website already has an established audience or is recognized by the previous domain.
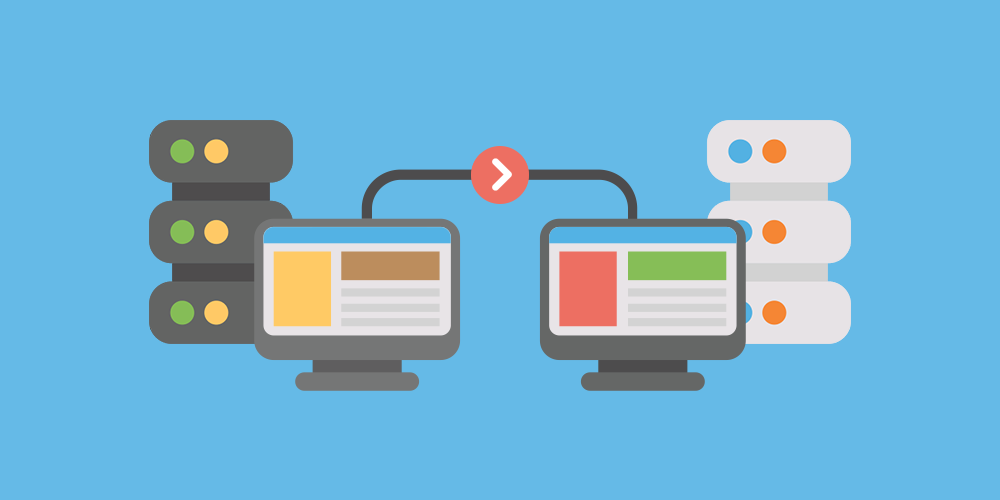
Migrating website hosting can be done gradually, following a step-by-step process.
By following these steps, you can transfer your website from one hosting provider to another with minimal difficulties.
1. Employ a fresh hosting service.
Search for and select a new hosting provider that meets your requirements (such as speed, support, and storage) before getting started.
After employing the service, you will be provided with login details and access to the control panel of the new hosting.
2. Make a copy of your existing website.
Now that you’ve acquired the new hosting, the next thing to do is make sure you have a backup of your website.
Locate the file manager in the control panel or use an FTP client such as FileZilla to download all files from your website.
This refers to images, scripts, themes, plugins, and other components that form your website.
Export the database.
The database is crucial for interactive websites like those powered by WordPress and Joomla.
Go to phpMyAdmin or another database management tool in your previous hosting to export the data.
Usually, this can be done in .sql format.
Move files to a new hosting provider.
It is now time to transfer the backed-up files to the new hosting after you have successfully completed the full backup of your website.
Here is a detailed guide to simplify and make this process hassle-free.
Access the new server via FTP.
You’ll require an FTP client like FileZilla, which can be easily downloaded and set up if you don’t already have one. FTP allows you to transfer files from your computer to the server.
Obtain the FTP login information for the new hosting.
When you signed up for the new hosting service, they sent you an email containing essential details like the FTP server address, username, and password.
These are the login details for connecting to the new server in FileZilla.
Establish the link.
Access FileZilla, input the server details, including the address, username, and password, then select “Connect.” Upon successful entry, a split-screen will display with your local files on the left and the server files on the right.
Transfer your website files to a different hosting provider.
Locate the public folder where your site will be hosted on the new server, typically named “public_html” or “www.”
Locate the backup of the site files on the left side of FileZilla and then drag all the files to the public folder on the right side.
The transfer might take a couple of minutes, depending on the site’s size.
Import the database into the new hosting.
If your website utilizes a database (like WordPress or Joomla), the subsequent action involves restoring the database.
- Access the latest hosting panel by locating the phpMyAdmin section in the control panel, like cPanel.
- Before importing the backup, it is necessary to establish a new database on the new hosting, ensuring to make a note of the database name, username, and password for future reference.
- Import the database by selecting the newly created database in phpMyAdmin, going to the “Import” tab, and selecting the .sql file exported from the previous hosting. Click on “Run” and wait for the import to finish.
Set up the database connection file.
If your website utilizes a database connection, such as in WordPress, you will need to modify the configuration file, typically named wp-config.php for WordPress sites.
In this document, you need to modify the details of the new database – such as the name, user, and password – to guarantee proper connection between the website and the new database.
6. Modify DNS settings.
After transferring all your data, it’s time to direct your domain to the new hosting.
Change the DNS servers to the ones given by the new hosting provider in the domain’s registration control panel.
The full effectiveness of this change may require up to 48 hours, but during this period your site should remain accessible.
Test and complete.
After finishing the migration, ensure that the website functions correctly on the new hosting by testing various pages and features.
Verify that all links, images, and functionalities are functioning correctly in order to conclude.
Consider switching website hosting to Hostbits!
Migrating website hosting might appear complex, but by following the correct steps, you can accomplish it smoothly and securely.
Now that you’ve learned how to transfer your website smoothly, why not consider trustworthy hosting with dedicated assistance?
At Hostbits, you will discover perfect options designed for individuals seeking reliability, fast performance, and readily available support.
Migrate your website now and discover the simplicity of having a worry-free running site.
Contact Hostbits to guarantee the optimal website experience!